 Whilst Pepakura Designer is great for unfolding 3D models then joining/disjoining faces it has its limitations when it comes to producing the final pattern so I generally transfer the file from Peparkura to MS Visio to finish things off. This is why if you ever get any of my patterns or design files there is a three digit version reference in the file name.
 Once in Visio the first job is to retrace over the pattern from Pepakura and to tidy up: any overlaps or darts that are less than 10mm wide at their widest point can be removed. Then to apply the seam allowances, here I typically add a 15mm allowance, this is sufficient to allow me to flat fell all my seams and to absorb any misalignment errors that main occur during sewing. It also gives me a 3.5mm tab to glue on to when assembling a quarter scale maquette.
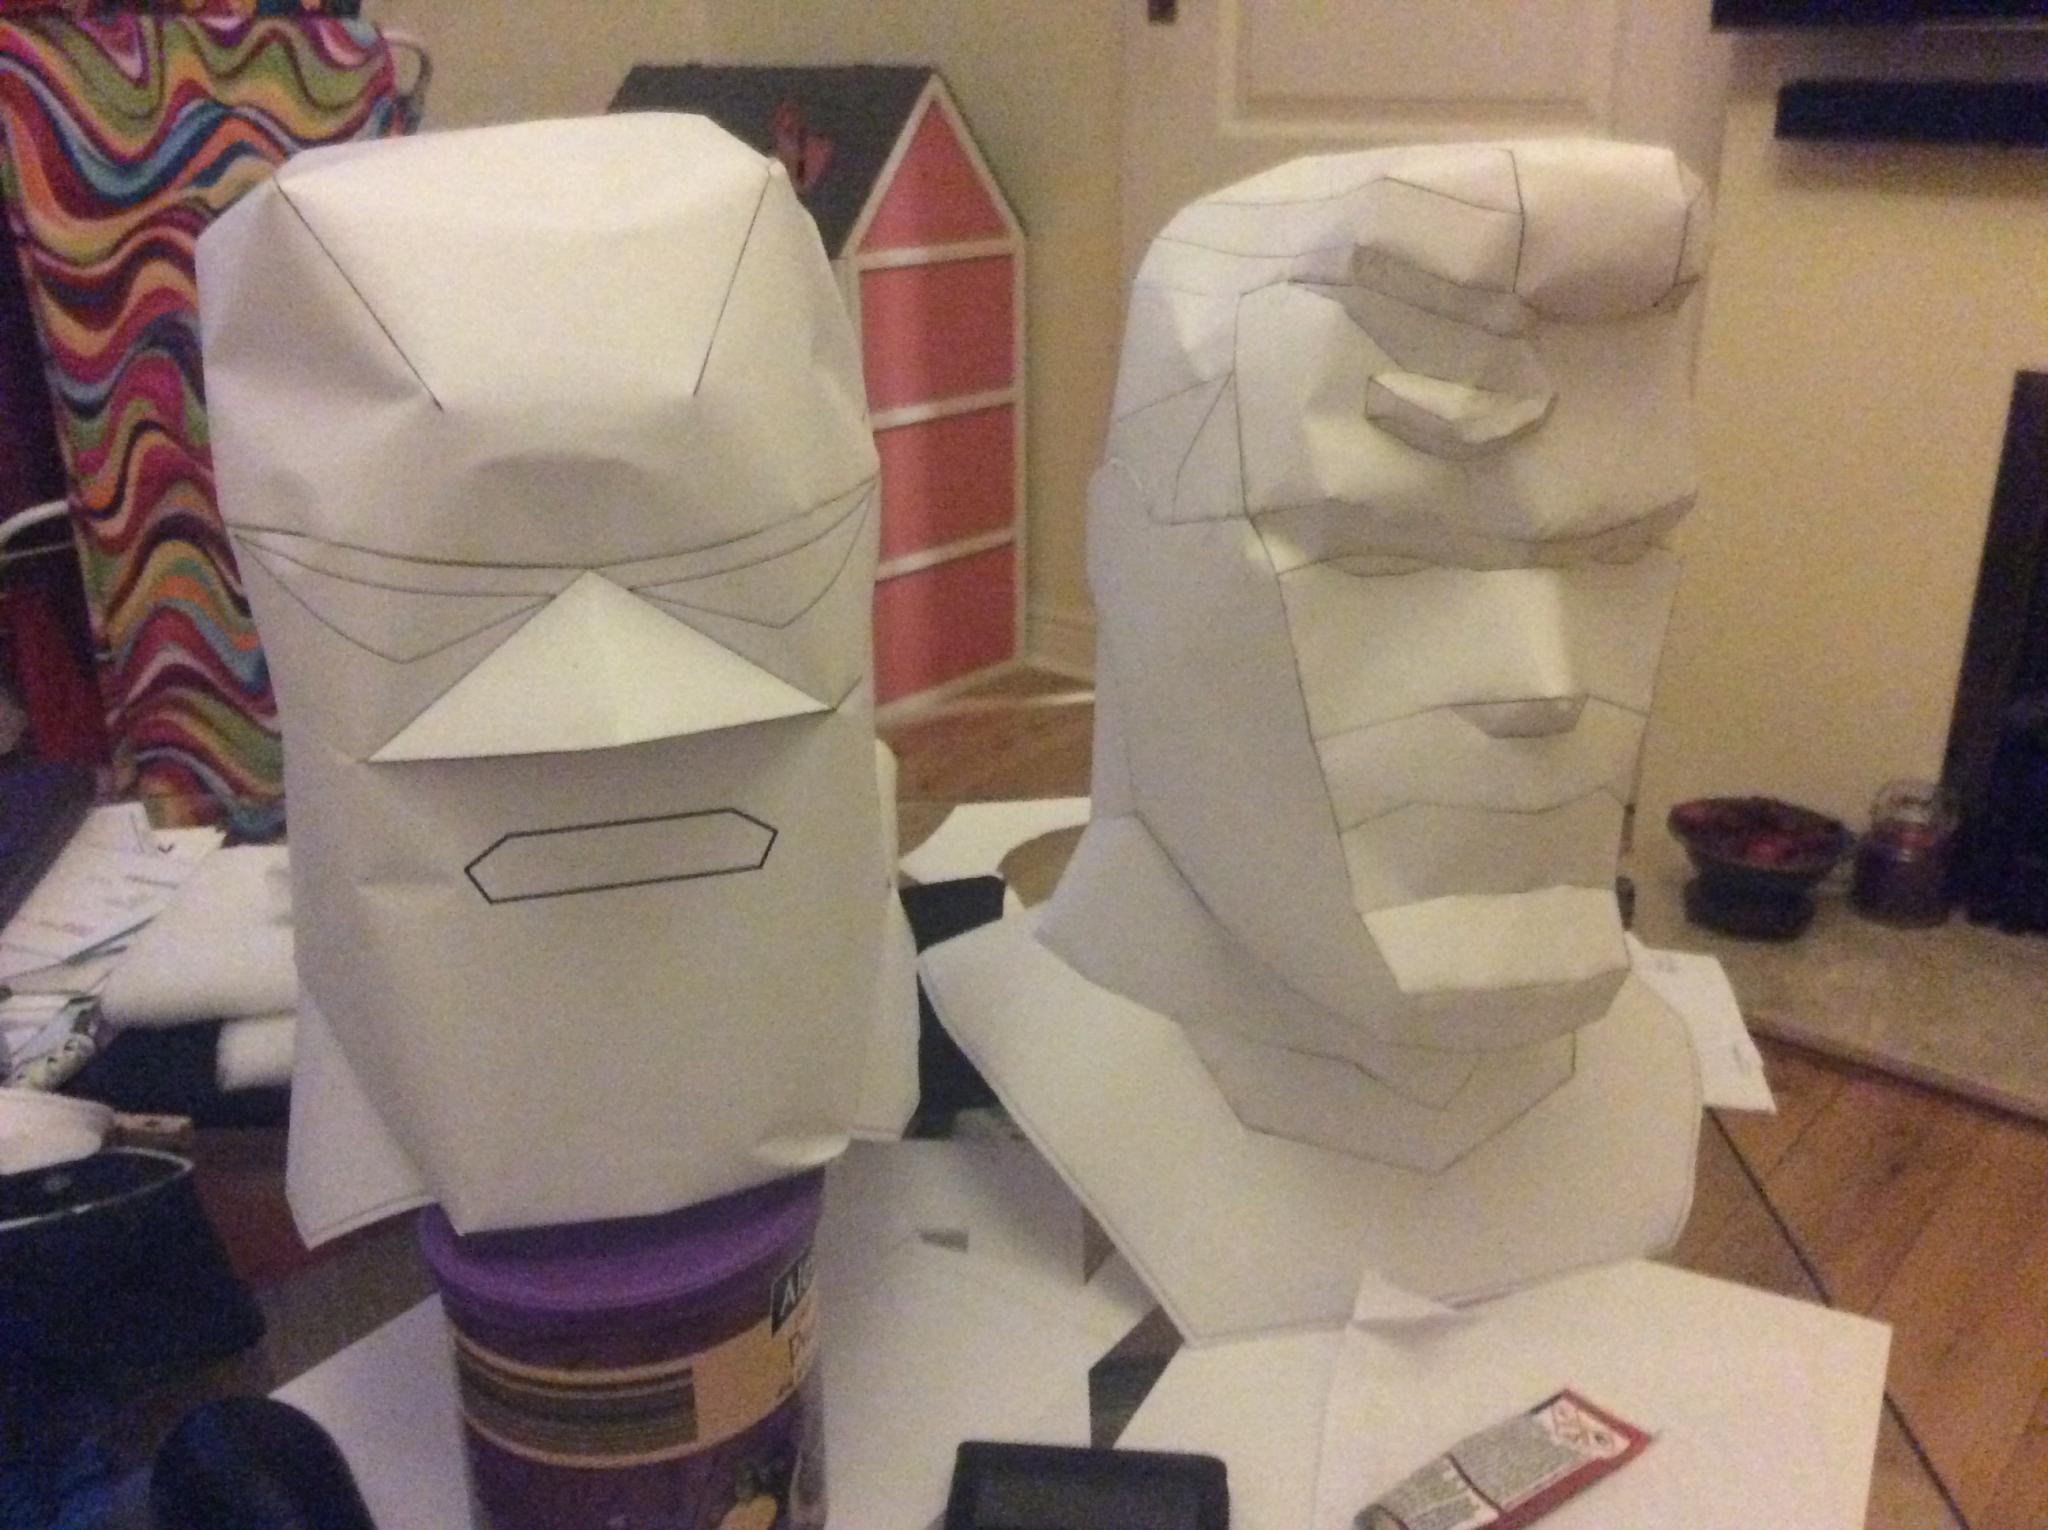 With the pattern complete in MS Visio, it was printed out at quarter scale and over a period of several hours (due to the curing time of the glue); the key uses for the maquette are firstly to assess the pattern for ease of assembly and secondly to search for innies that could become outies. Assembling the head I discovered two points that would need a 90o change of direction in the seam, but if I re-jig the layout of the polygonal pieces to have 32 pieces instead of 30 these corners disappear making assembly much more straight forward. The hunt for innies and outies involves working round the maquette search for points where the surface goes in but will pop out under the pressure of inflation, this head has a couple of points of risk but these are relatively easily handled by backing the areas with mesh in the final assembly.
You must be logged in to post a comment.